
▵
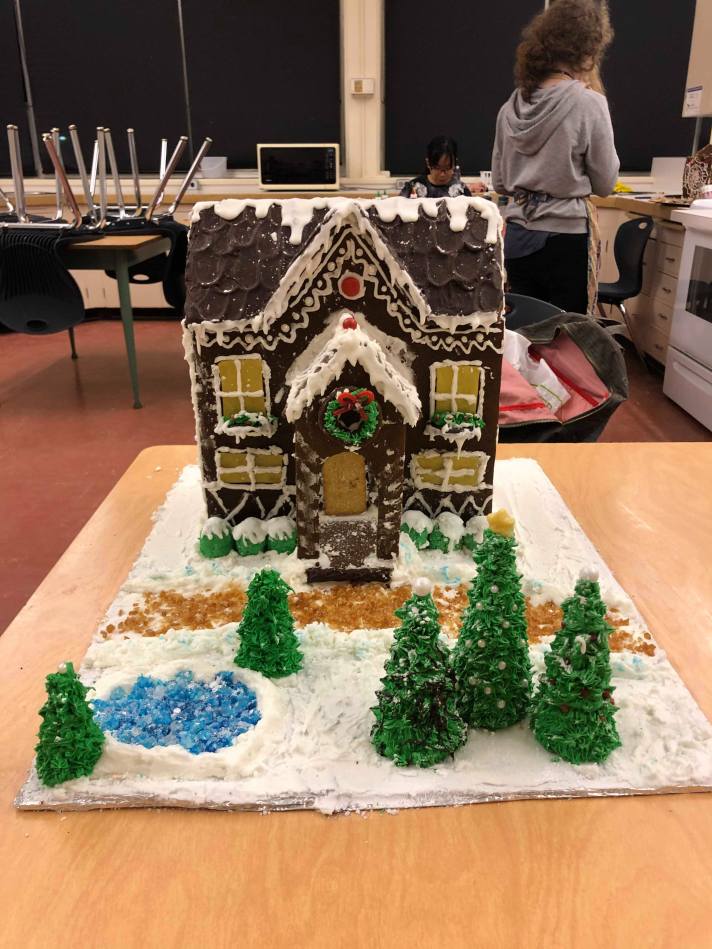
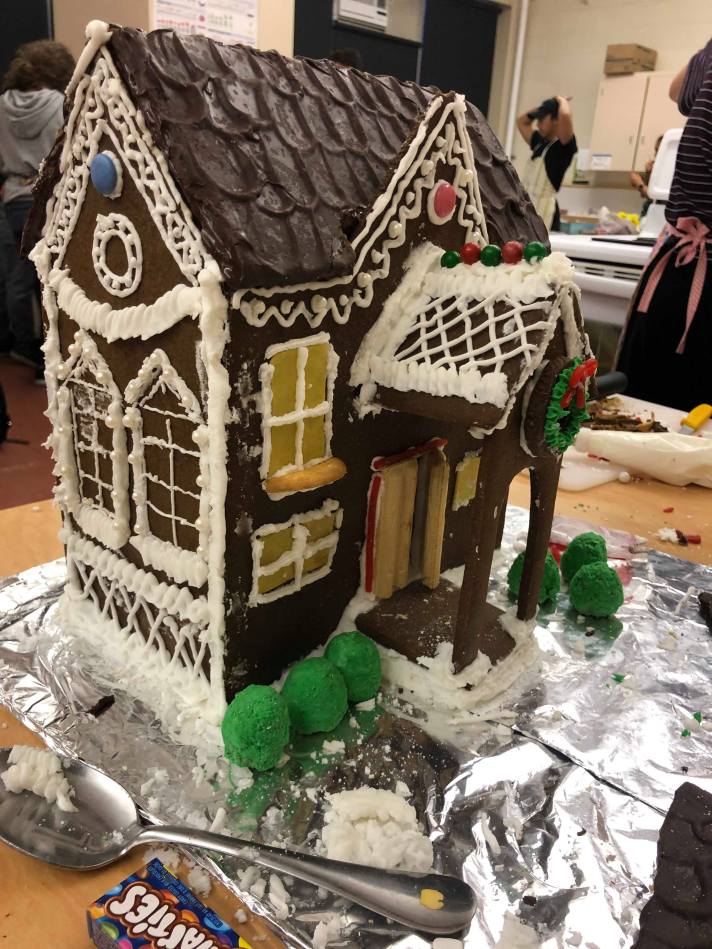
After weeks full of planning, designing, baking, decorating, we finally finished our gingerbread house.
▵
Day 1:
Planning + Making Stencils
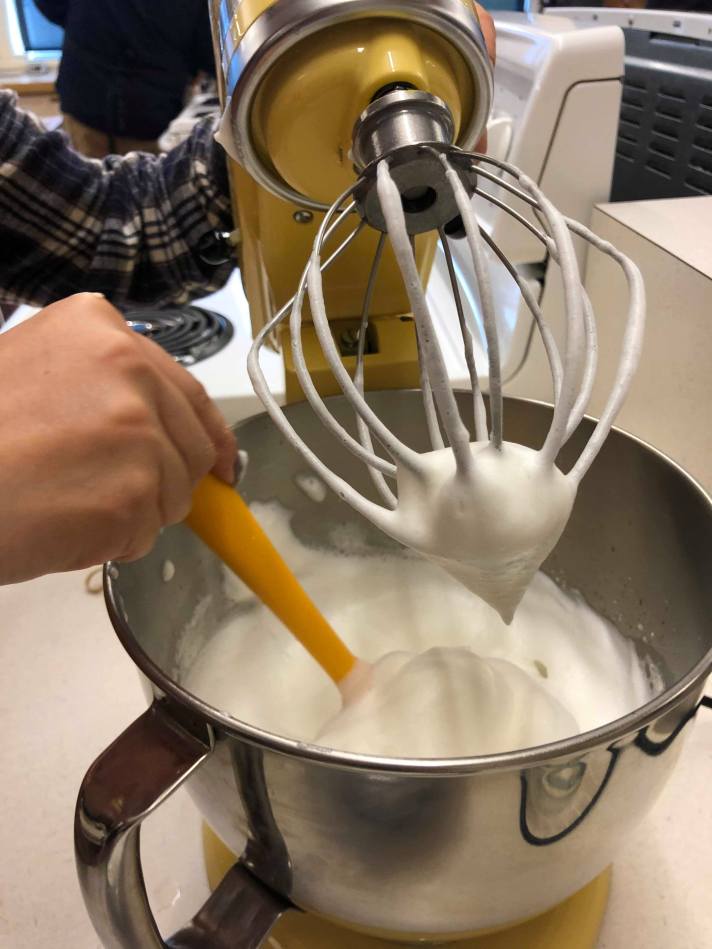
We got some inspiration from a few images we found online and then we combine different elements from each picture to spice up to our design.
Day 2:
Making Dough + Royal Icing
Since we had a short block that day, we did not have time to record the process
Day 3+4:
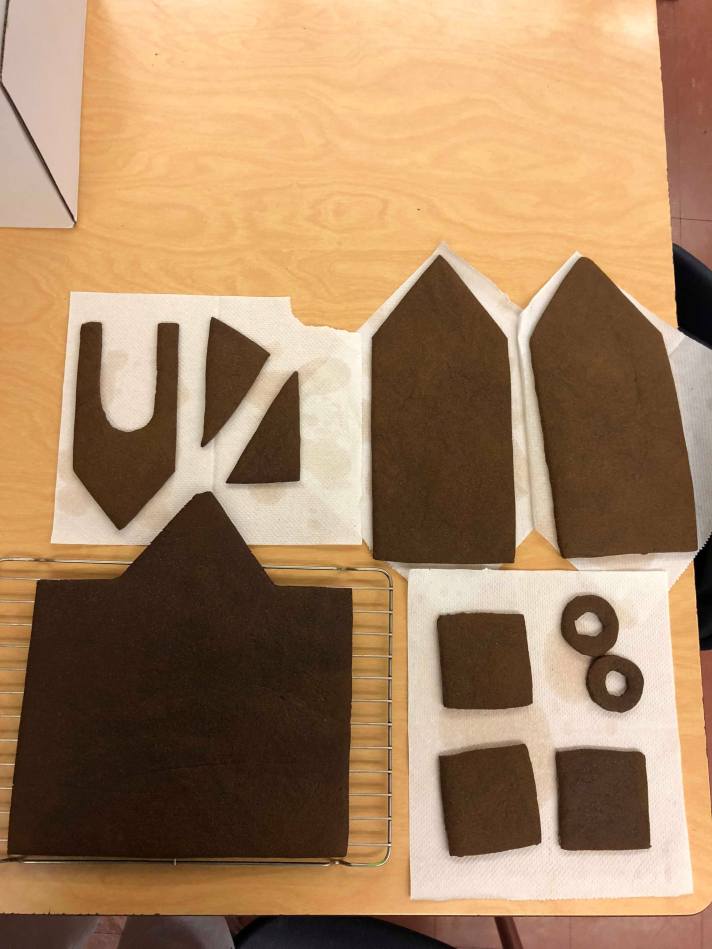
Cutting Out Pieces + Baking
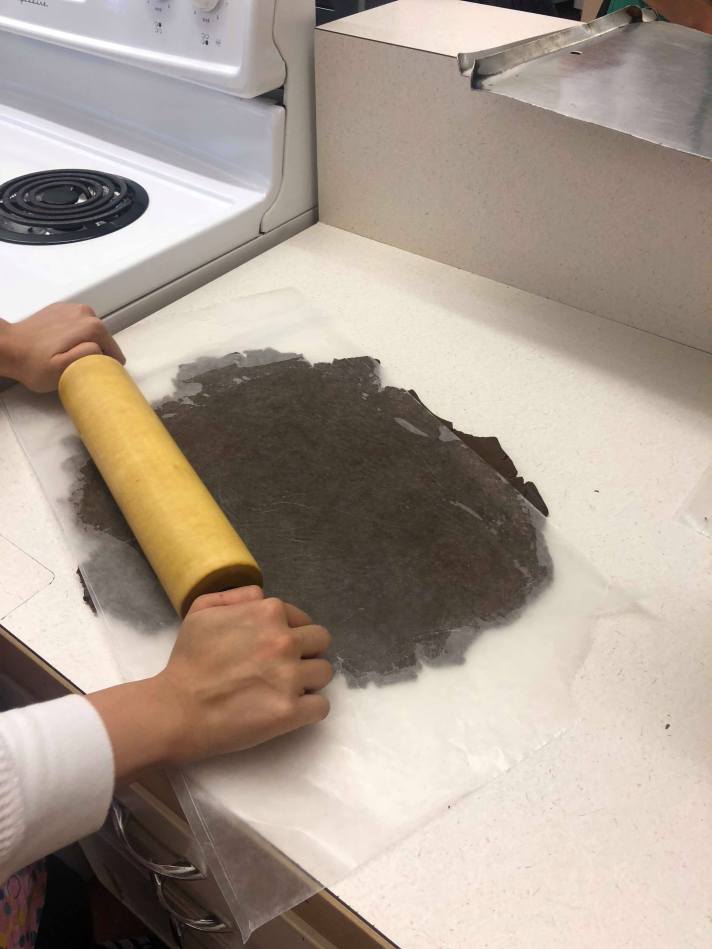
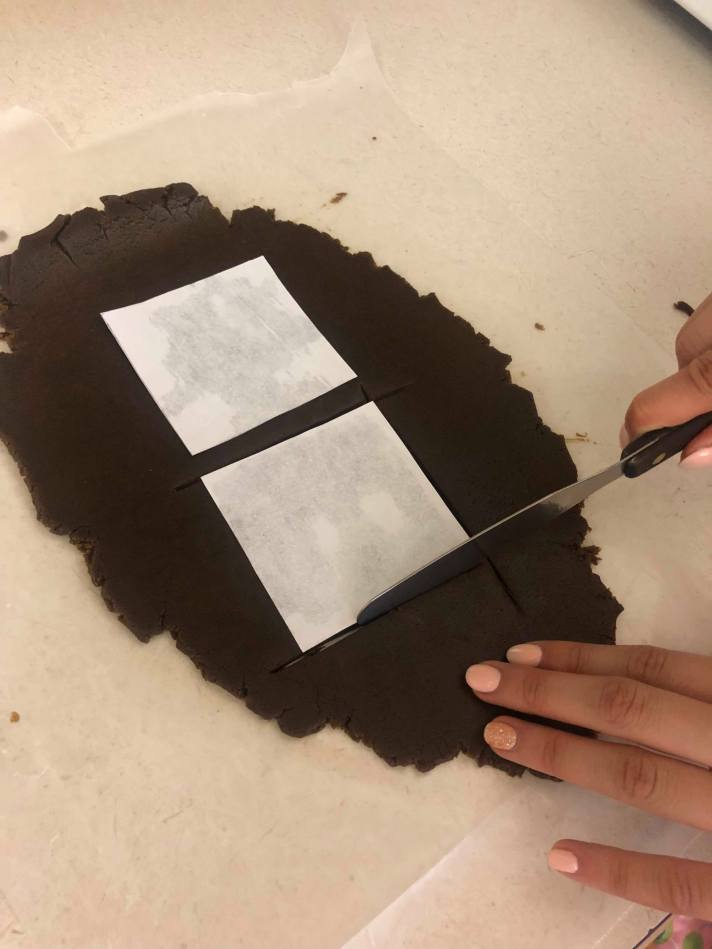
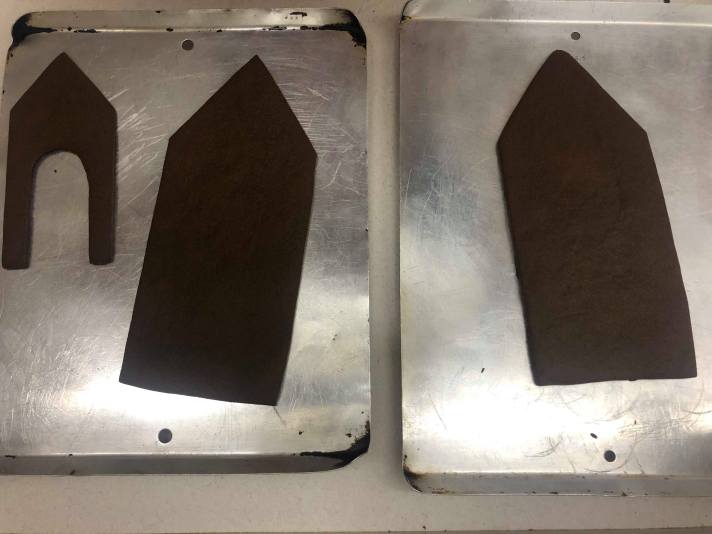
After days of prepping, we finally made our pieces required to build our gingerbread house. While cutting out the pieces of dough into our desired shape, it reminded me of my favourite childhood toy: Play–Doh.
Day 5:
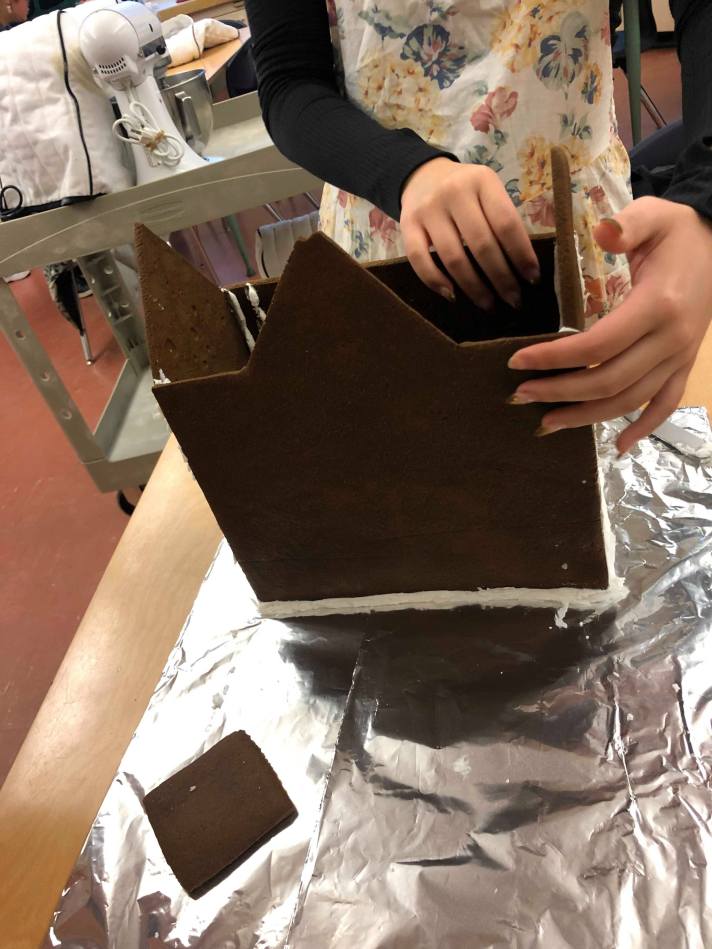
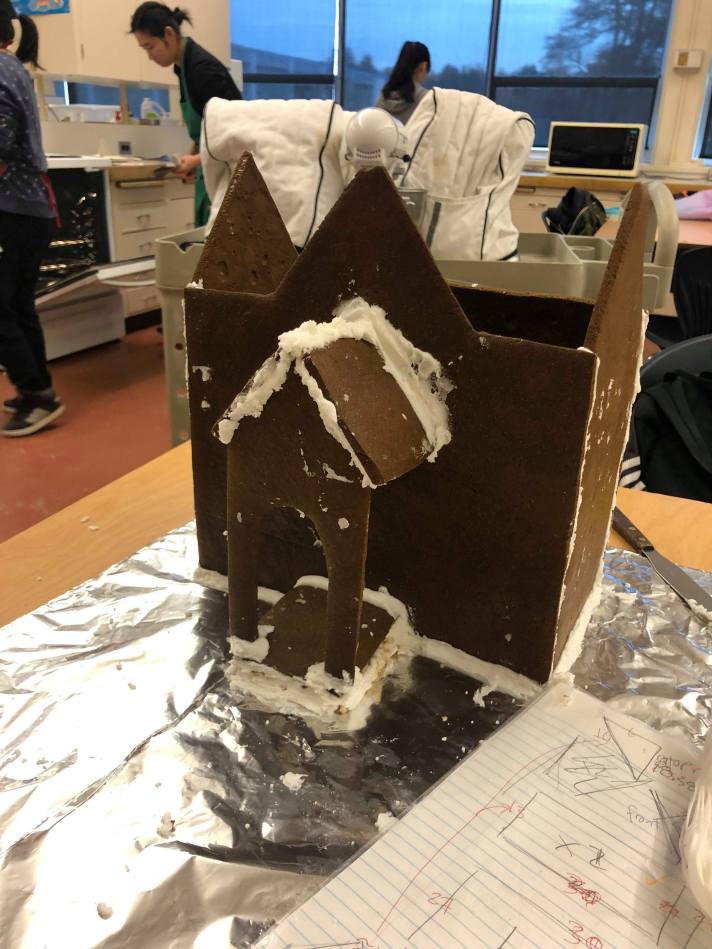
Constructing
Out of the whole process, I would say that constructing and putting the pieces together was the hardest. Our work space was extremely unorganized and scattered with icing, baking utensils, candies (decorations), etc. Additionally, the gingerbread pieces kept on collapsing because the icing took forever to dry. Overall, it was a pretty tough experience.
Day 6:
Decorating
In total, we spent approximately 5 hours to decorate our gingerbread house. Icing was the key ingredient that we used to decorate our house. While using piping tips, we were able to create different texture, precise pattern on our house. For our roof, instead of using icing, we melted chocolate chips, spread it all over, and used a metal spatula to make a U-shape indentation. To spice up our gingerbread house, we made a few side decorations such as the Christmas trees- mini ice cream cone piped on with green icing- and green bushes – and Rice Krispy covered with green icing.
 – Vivien


