
▵
This is by far the best Mac and Cheese I have ever had in my life. I am surprised by the amount of cheese we used in this recipe. I love the additional bread crumbs topping, as it gives a crunchy texture and flavour to the dish.
▵


▵
This is by far the best Mac and Cheese I have ever had in my life. I am surprised by the amount of cheese we used in this recipe. I love the additional bread crumbs topping, as it gives a crunchy texture and flavour to the dish.
▵
▵
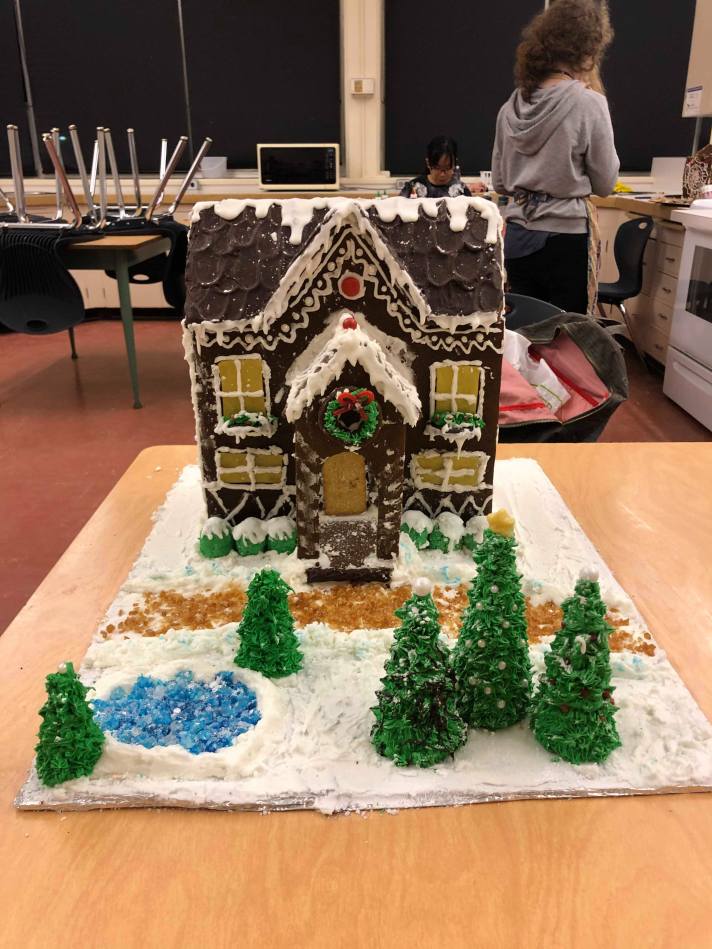
After weeks full of planning, designing, baking, decorating, we finally finished our gingerbread house.
▵
Day 1:
Planning + Making Stencils
We got some inspiration from a few images we found online and then we combine different elements from each picture to spice up to our design.
Day 2:
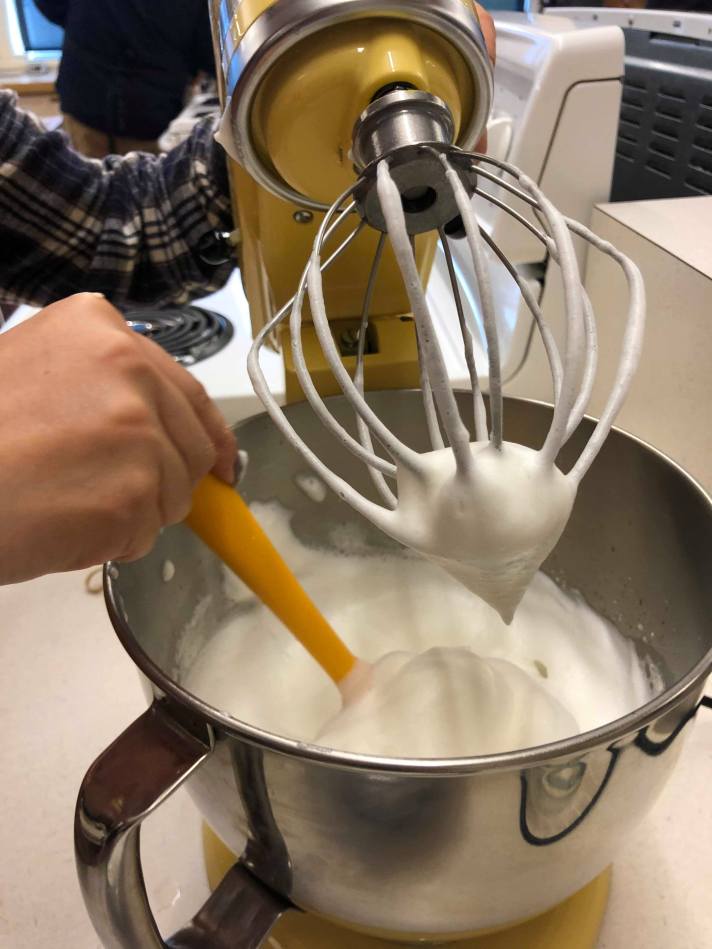
Making Dough + Royal Icing
Since we had a short block that day, we did not have time to record the process
Day 3+4:
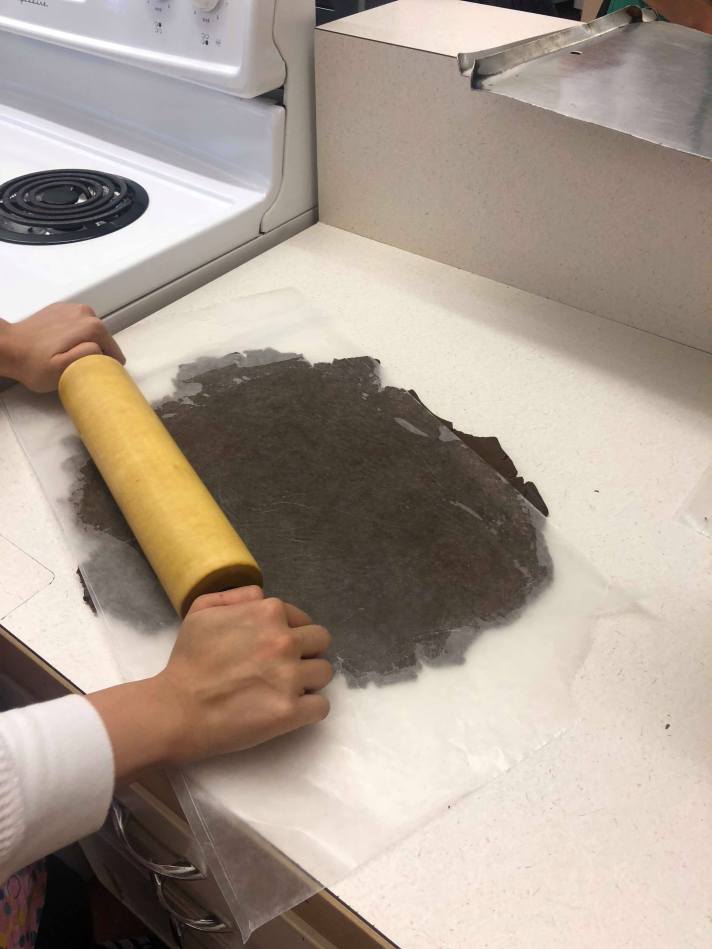
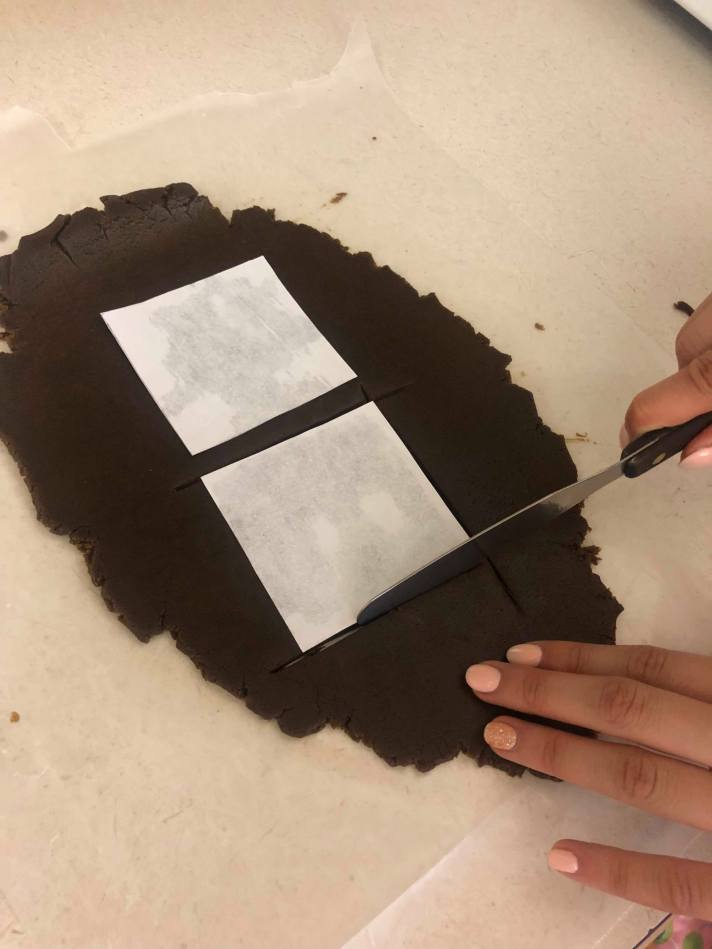
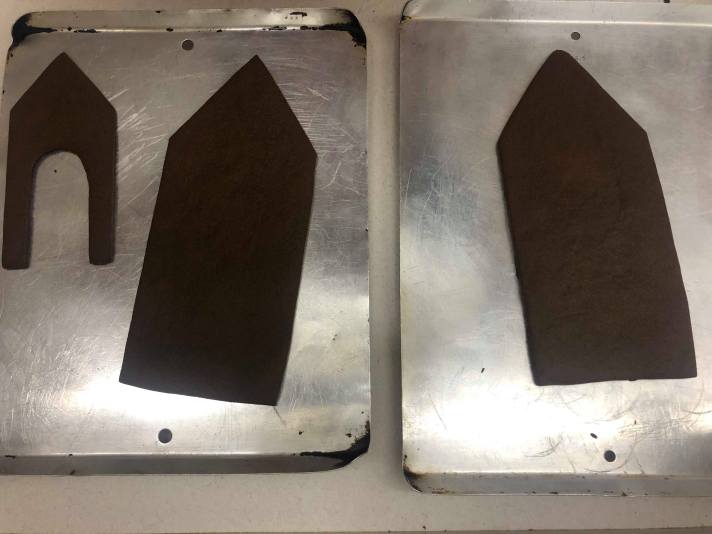
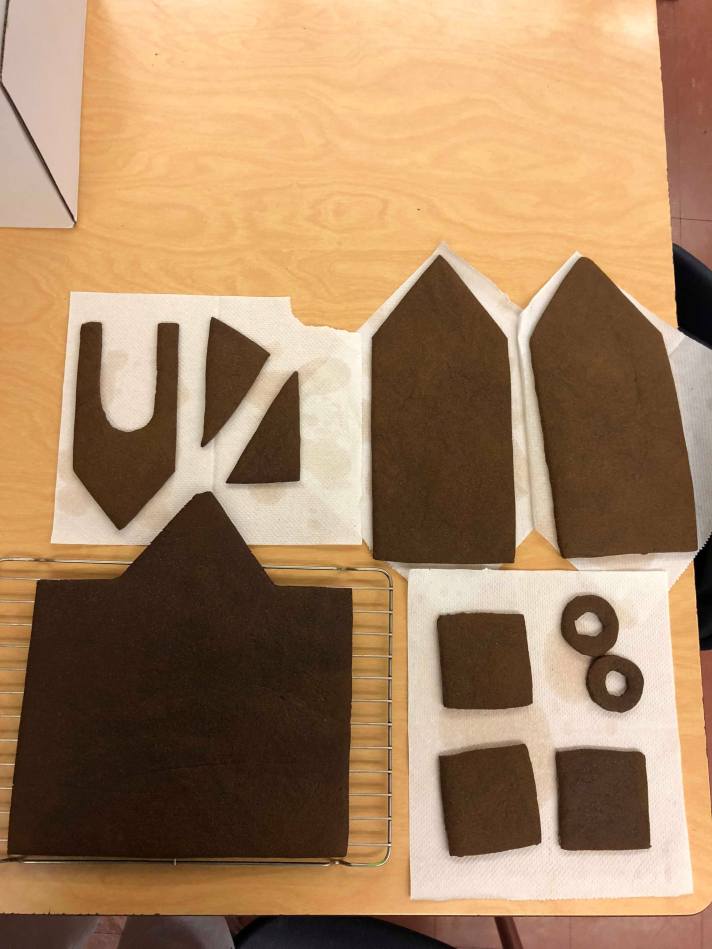
Cutting Out Pieces + Baking
After days of prepping, we finally made our pieces required to build our gingerbread house. While cutting out the pieces of dough into our desired shape, it reminded me of my favourite childhood toy: Play–Doh.
Day 5:
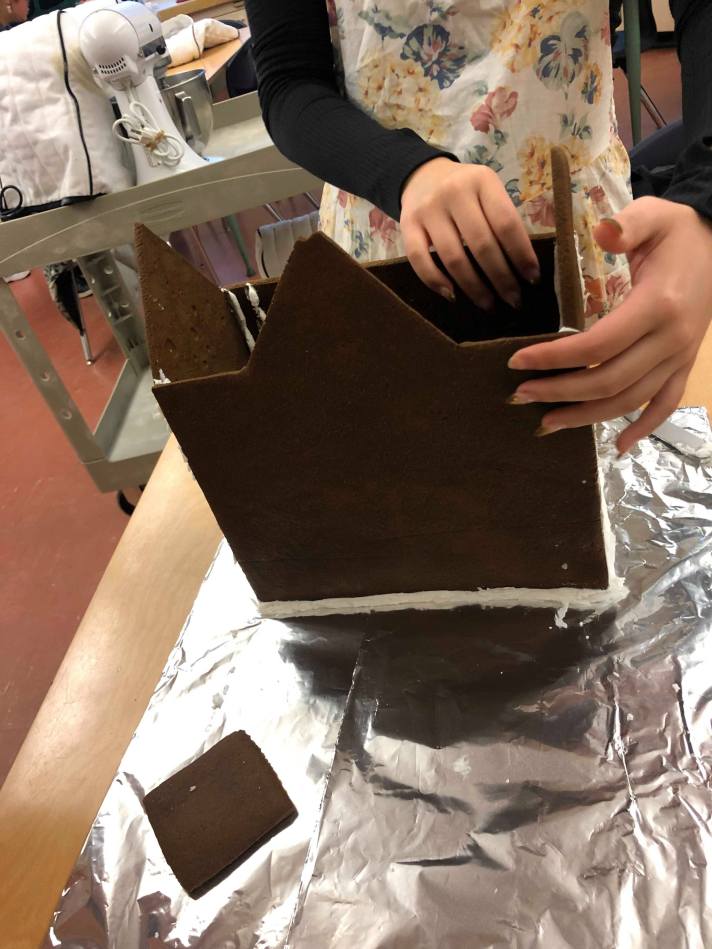
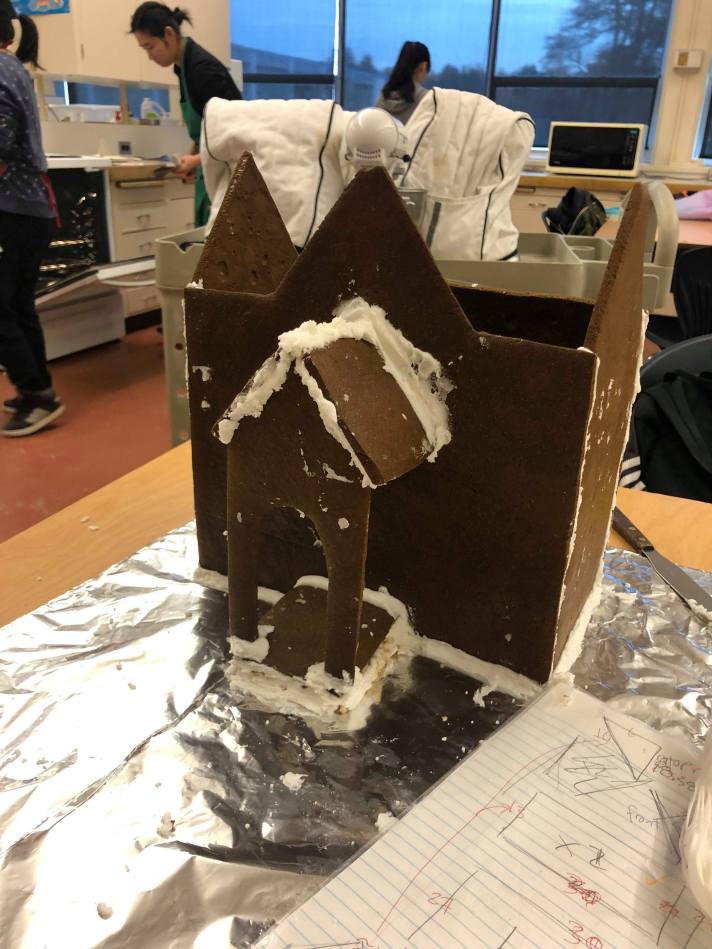
Constructing
Out of the whole process, I would say that constructing and putting the pieces together was the hardest. Our work space was extremely unorganized and scattered with icing, baking utensils, candies (decorations), etc. Additionally, the gingerbread pieces kept on collapsing because the icing took forever to dry. Overall, it was a pretty tough experience.
Day 6:
Decorating
In total, we spent approximately 5 hours to decorate our gingerbread house. Icing was the key ingredient that we used to decorate our house. While using piping tips, we were able to create different texture, precise pattern on our house. For our roof, instead of using icing, we melted chocolate chips, spread it all over, and used a metal spatula to make a U-shape indentation. To spice up our gingerbread house, we made a few side decorations such as the Christmas trees- mini ice cream cone piped on with green icing- and green bushes – and Rice Krispy covered with green icing.
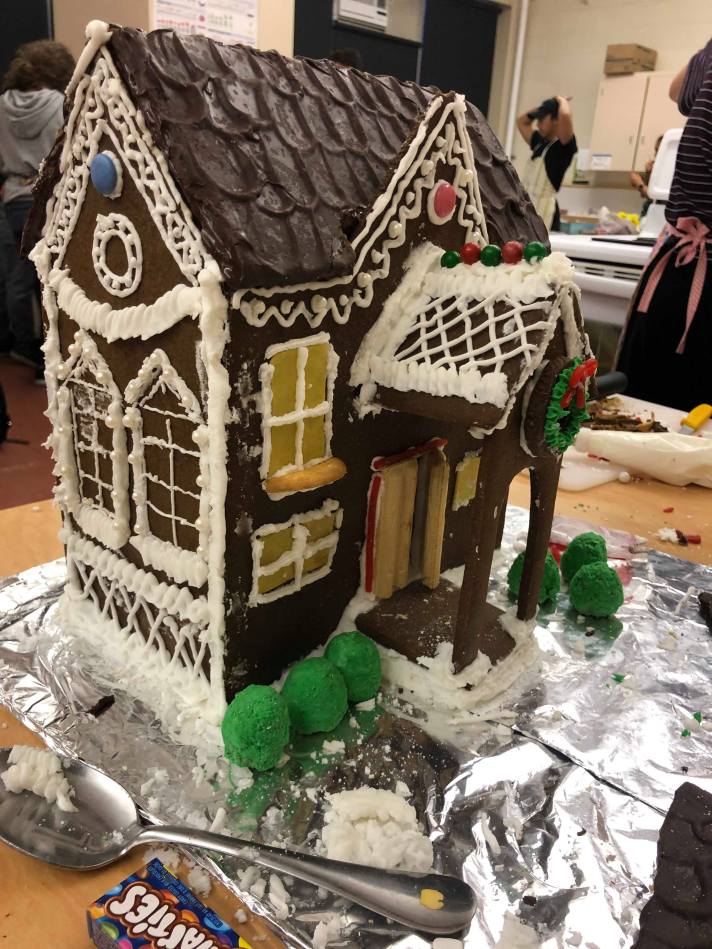 – Vivien
▵
Happy Halloween!
The arrival of this spooky celebration is my excuse to eat more sugary goodness.
▵
Besides Trick-or-treating on Halloween, I dedicated my time on decorating this grave yard cake, which includes a layer of chocolate icing on top of rectangularly shaped chocolate cake (the base of the graveyard), along with other halloween treats (skeleton, pumpkin, gummy worms and the R.I.P sign (a piece of cookie with grey icing)). For me, spreading the icing evenly on the cake is the hardest part. However, I have the excuse of not creating a perfectly smoothed layer because the icing is meant to micmic the texture of mud.

▵

▵
When our dish (layered with homemade canned tomato sauce+grounded beef, lasagna, cream cheese and shredded cheese ) is freshly baked out of the oven, the aroma made its way from the foods room, out to the B wing (hallway) and into the cafeteria.
▵
The whole process starting from preparing ingredients to assembling, and then to baking in total takes about an 1 hour.
▵
This dish definitely requires some patience and most importantly, cooperation with your cooking buddies. For my specific task, I had to prepare the pasta and make sure that they are Al dente.
▵


▵
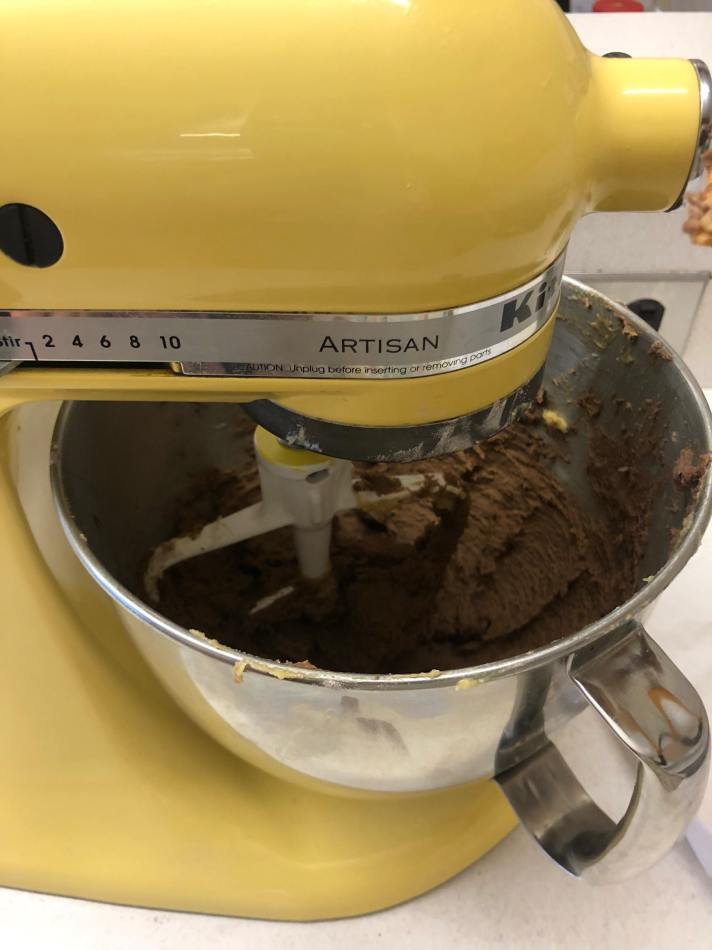
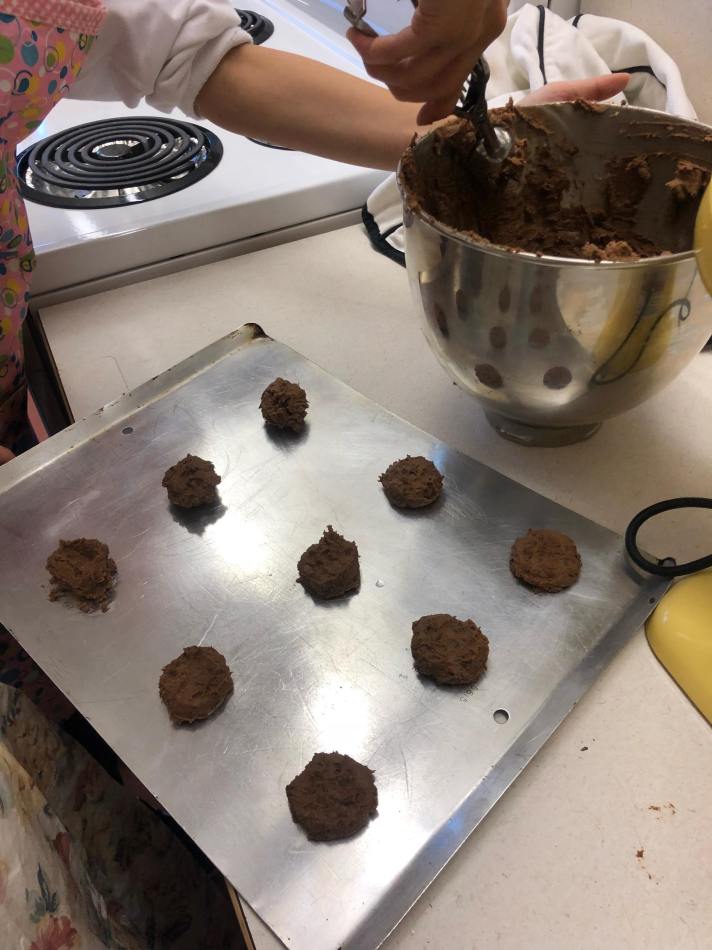
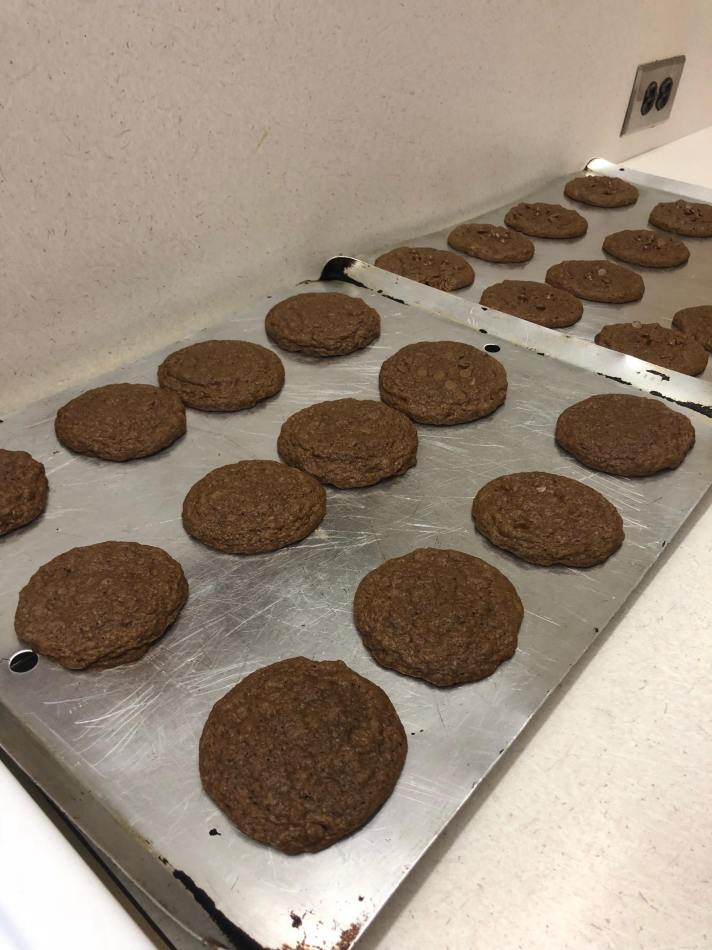
Rich flavour from the cocoa powder blended in perfectly with the buttery goodness (margarine) and melted chocolate chips
▵
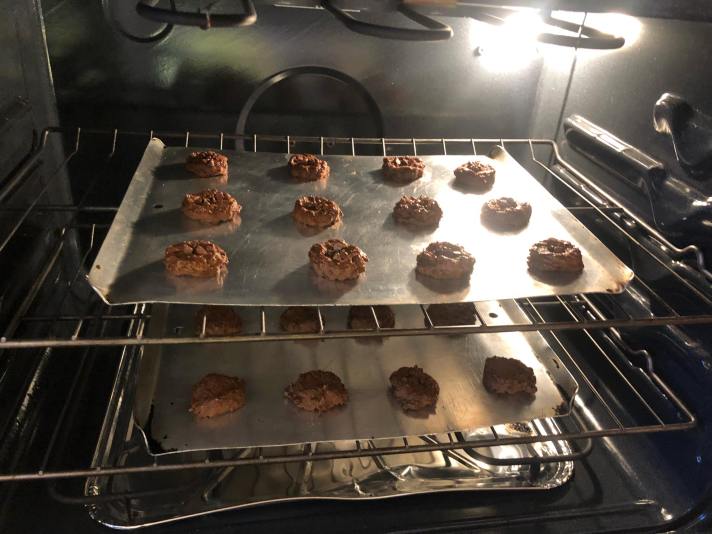
If you are a chocolate lover like me, you will probably fall in love with these cookies – crispy on the edge and soft on the inside. They are not only delicious, but also perfect for beginners who are seeking for opportunities to advance their baking skills.
▵
▵
A Quick Little Remainder:
Make sure to wait until the cookies cool down before transferring them on to another plate
▵
Definition:
Canning
preserve (food) in a can
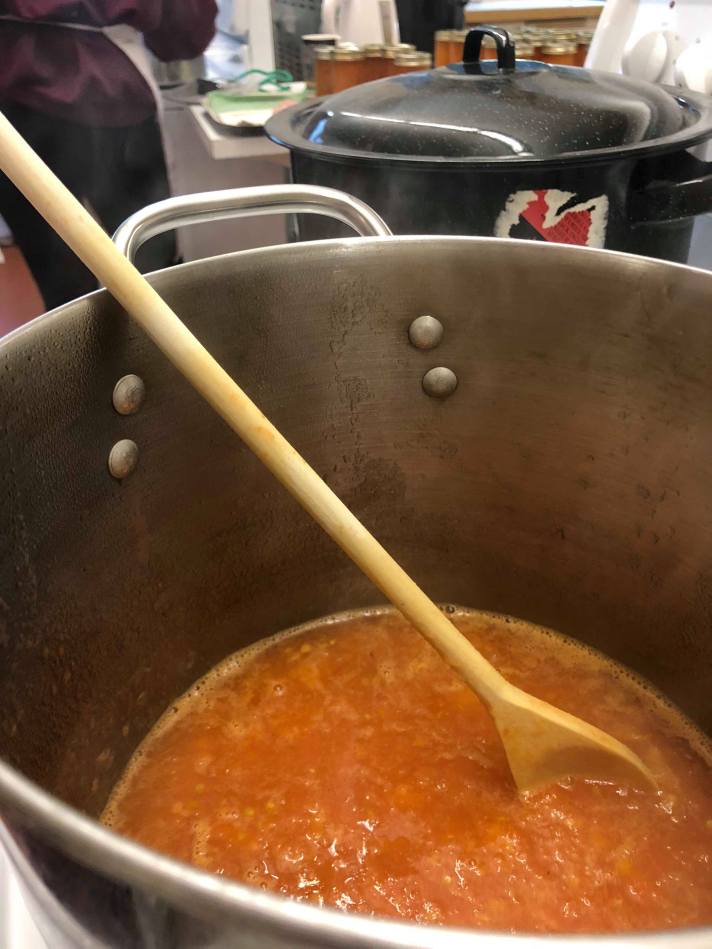
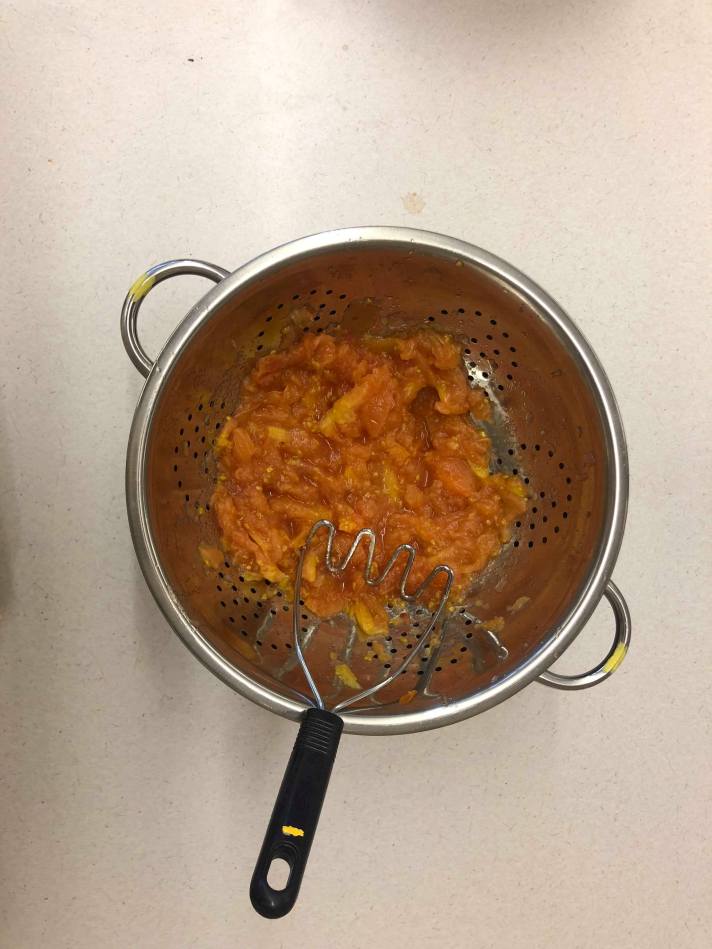
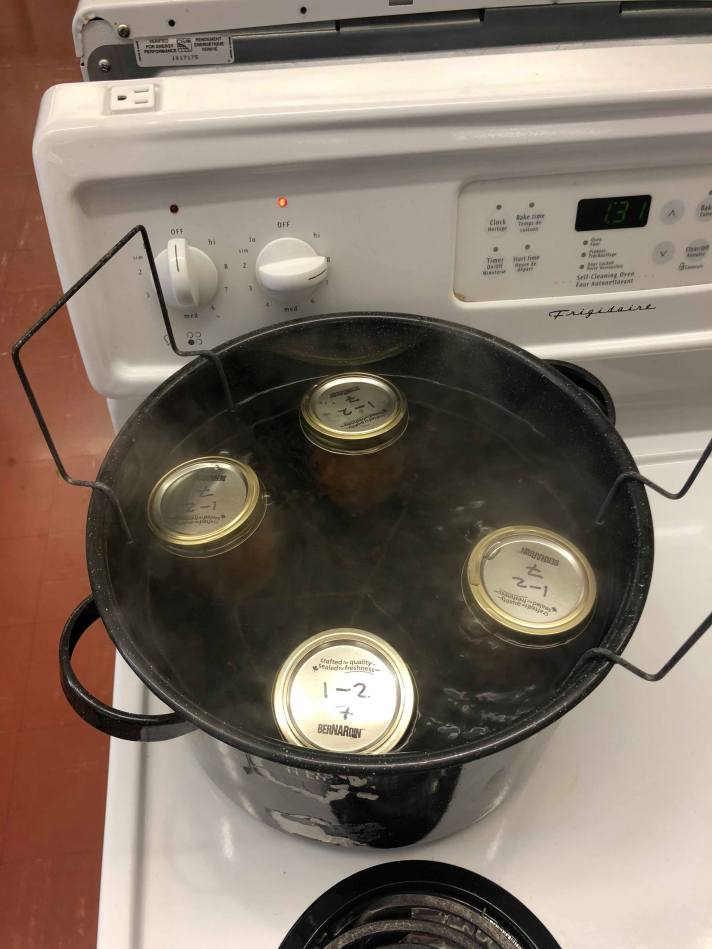
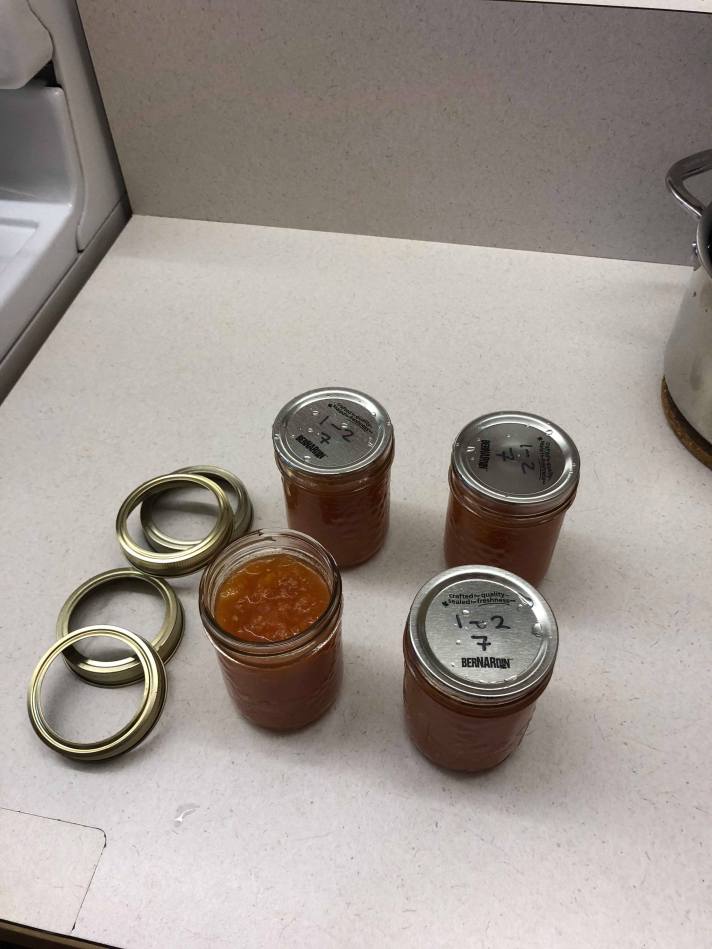
The process of canning is not as mundane as I would expect. From the beginning- fresh roma tomatoes- to the end, there are a heck load of work to do in order to successfully preserve food. In this case, I diced, boiled, and smashed my 2.0 kg roma tomatoes into 4 mason jars filled with tomato sauce.
▵
▵
When canning, it is important to check and make sure your jars/cans are sealed properly to prevent the growth of microbes.
Here are a few tricks I learned:
1) Tap the lid; it should make a clear ringing sound
2) Press the lid; nothing should happen or bounces back
3) Observe: it should have a concave shape
Hi there! My name is Vivien and I am a grade 12 students from Prince of Wales Secondary School.
▵
A foodie who enjoys maneuvering metal grocery carts through the narrow aisles well-stocked with freshly squeezed lemonade, Lays original flavoured chips, blocks of Parmigiano-Reggiano cheese and dozen and dozen of eggs. I also adore the simple pleasures in life through the process of cooking and of course, eating.
▵
Here is where I store my favourite food recipes, and cooking tips and tricks.

